How to Make a Timelapse with Photos
Creating a timelapse with photos is an art form that combines the beauty of photography with the magic of time manipulation. This technique allows photographers and videographers to capture the essence of time passing in a compressed format, turning hours, days, or even months into a short, stunning visual narrative. Whether you are a professional photographer or a hobbyist, mastering this skill can transform your portfolio and elevate your creative projects to new heights. In this comprehensive guide, we will delve into the techniques, tools, and steps needed to successfully create your own timelapse.
Understanding Timelapse Photography
A timelapse is created by taking a series of photographs at set intervals and playing them back at a faster speed. The result is a mesmerizing video that captures motion in a way that the human eye cannot perceive in real-time. To effectively make a timelapse with photos, it's essential to understand the fundamental concepts of photography, including exposure, framing, and timing.
The Basics of Timelapse
Before we begin, here are some fundamental aspects to consider:
- Interval: The time gap between each photo taken. This can vary depending on the subject and the desired effect.
- Duration: The total time over which the timelapse is created. Longer durations yield more dramatic effects.
- Frame Rate: The rate at which the images are played back. Common frame rates include 24, 30, or even 60 frames per second.
Equipment Needed for Timelapse Photography
To create an engaging timelapse, certain equipment is required for optimal results:
- Camera: A DSLR, mirrorless, or high-quality point-and-shoot camera is recommended. Ensure it has manual settings for better control.
- Tripod: Stability is critical for timelapse photography. A sturdy tripod prevents camera shake and maintains the same framing throughout the process.
- Intervalometer: This tool triggers the camera to take photos at specific intervals. Many cameras have this feature built-in, but external intervalometers are also available.
- Memory Cards: High-capacity cards are necessary since you will be capturing many images over time.
- Editing Software: After capture, you'll need software to compile your photos into a video format. Examples include Adobe Premiere, Final Cut Pro, or even free options like DaVinci Resolve.
Choosing a Subject and Location
Every captivating timelapse starts with a strong concept. When deciding on a subject and location for your timelapse, here are some points to consider:
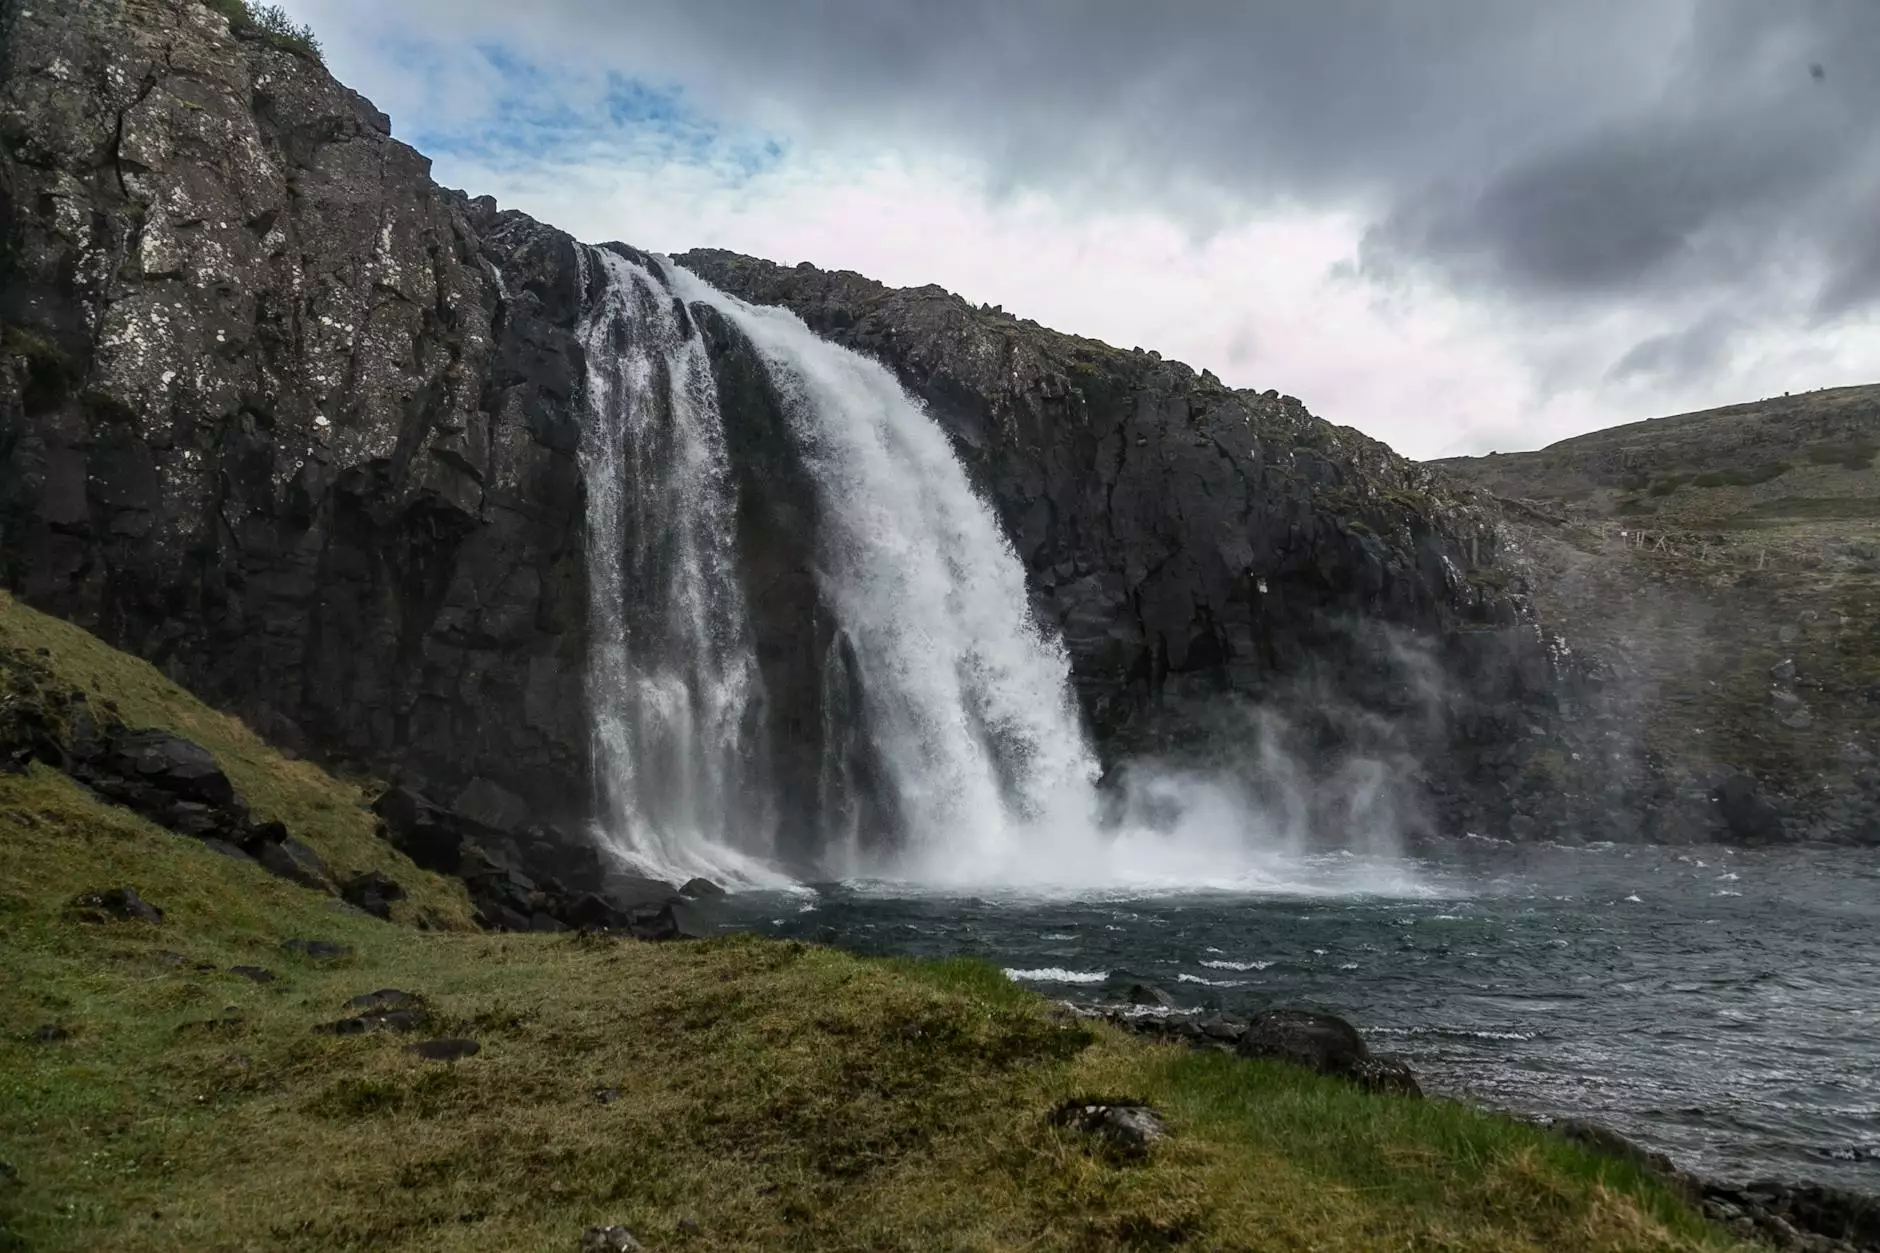
- Dynamic Motion: Subjects with noticeable changes over time—like flowers blooming, traffic flowing, or clouds moving—are ideal.
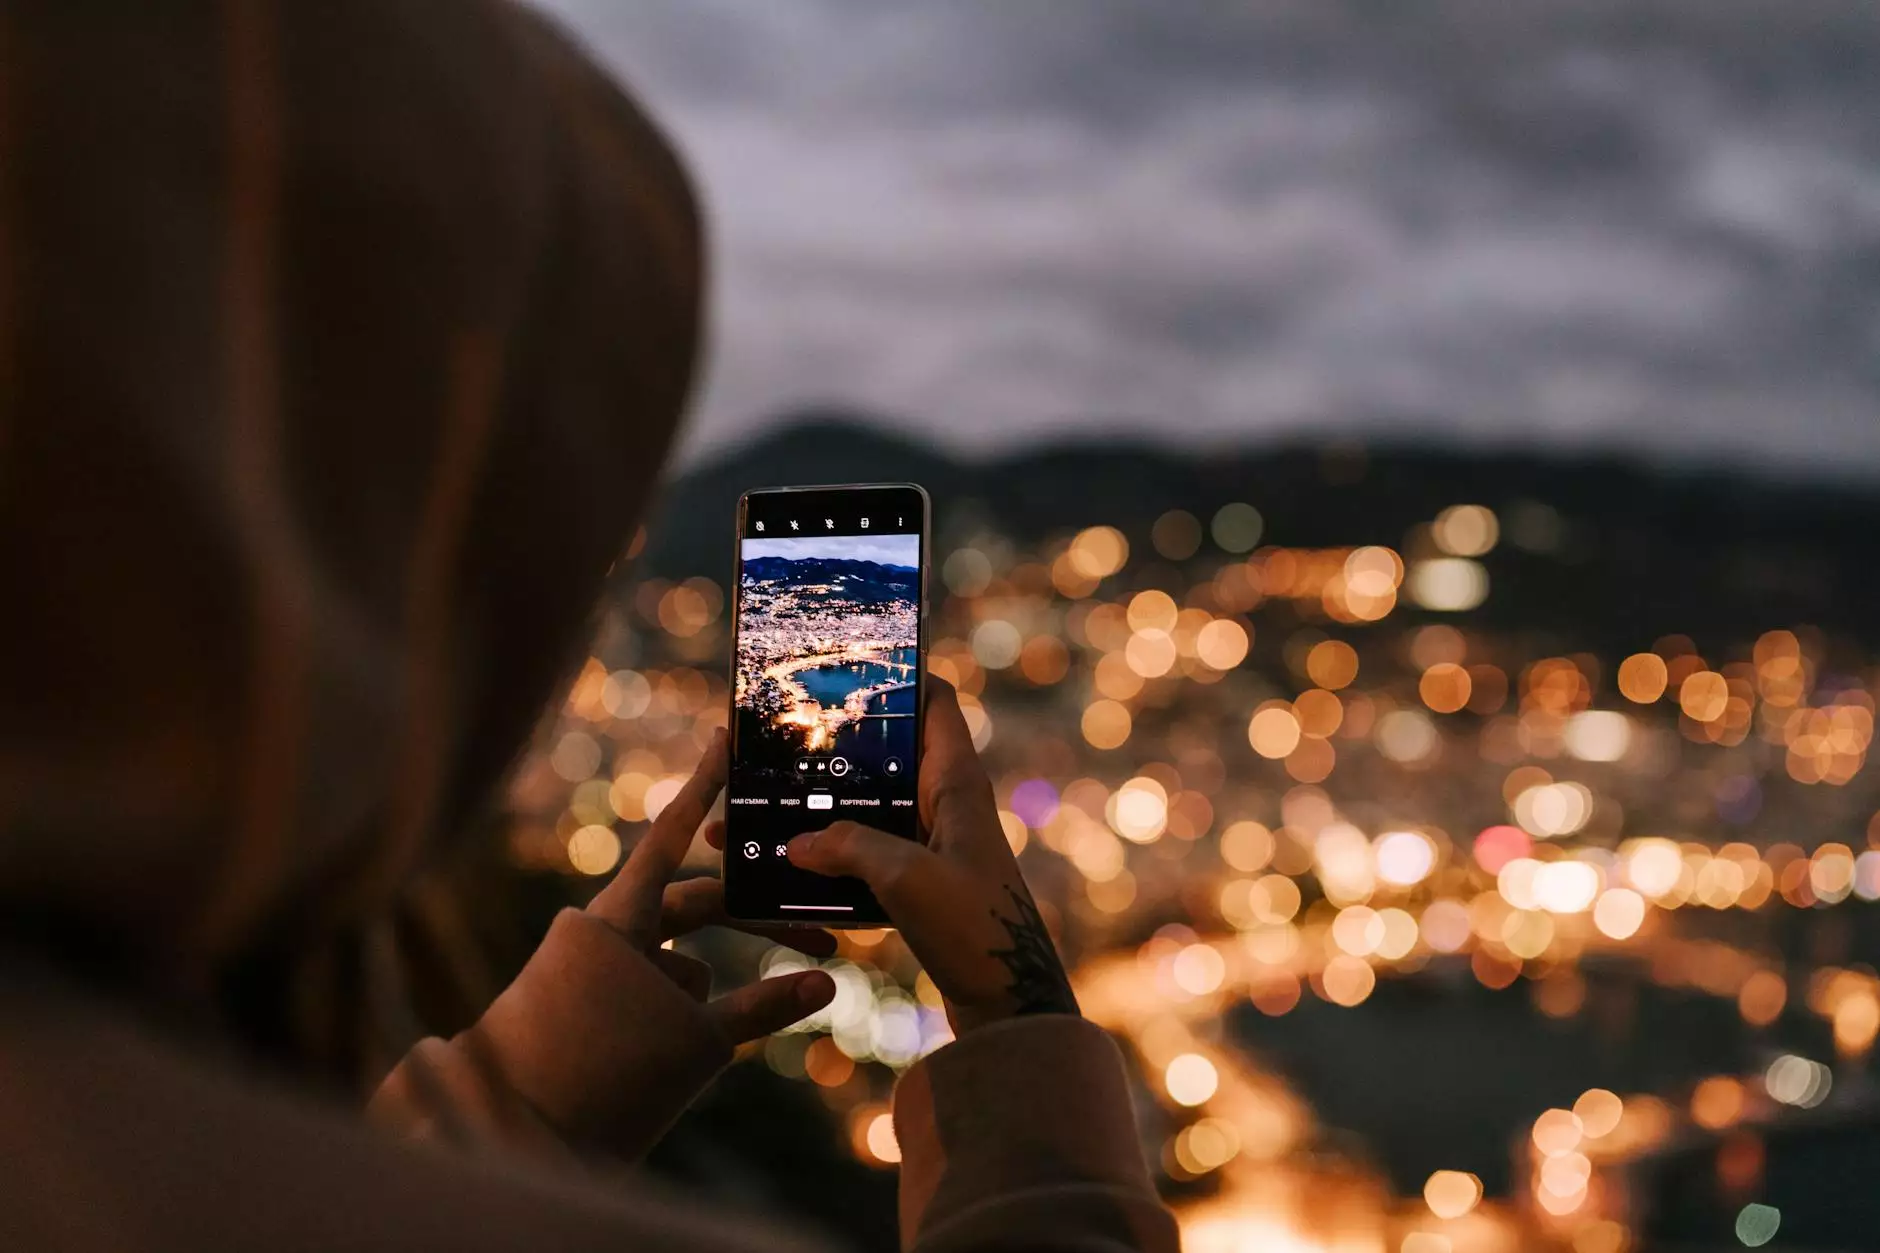
- Lighting: Consider locations where lighting changes, such as sunsets or cityscapes at night.
- Accessibility: Ensure that your location is accessible and safe for both yourself and your equipment.
- Weather Conditions: Always check the weather forecast; adverse weather can dramatically affect your results.
Setting Up for Your Timelapse
Once you've chosen your subject and prepared your equipment, it's time to set up your shoot. Follow these steps:
- Position your camera on the tripod and frame your shot. Make sure there are no distractions in the foreground and that your subject is the focus of the frame.
- Use manual settings to avoid automatic exposure adjustments that may lead to flickering in your final video. Set your aperture, ISO, and shutter speed appropriately.
- Set the intervalometer to the desired interval that matches your scene's dynamics. Remember, shorter intervals capture quick changes, while longer intervals are suited for slower changes.
- Test your setup by taking a few test shots and reviewing your settings to ensure everything is working perfectly.
Capturing Your Timelapse
With everything set up, it's time to start capturing your timelapse. Here are some tips for ensuring success:
- Patience is key: Depending on your subject, your shoot may take hours or even days. Plan ahead and bring additional supplies like snacks and water.
- Check on your gear regularly: Ensure that your camera is functioning correctly, and check your battery and memory card status during the shoot.
- Document the process: While you're waiting, take notes or photos of the setup process and environment. This can be useful for sharing on social media or for your portfolio.
Post-Processing Your Timelapse
Once you’ve captured all your images, it’s time to compile and edit them. This step is crucial in creating a professional-looking timelapse:
- Import your images into your chosen editing software. Most software allows importing a sequence of images as video files.
- Adjust the playback speed: Set your desired frame rate and check the speed to ensure it fits the motion you envisioned.
- Add transitions if necessary. Use smooth fades or cross-dissolves to enhance the viewing experience.
- Incorporate sound: Adding music or sound effects can significantly enhance the impact of your timelapse. Choose a soundtrack that matches the mood.
- Export your final product in the desired format and resolution for sharing online or adding to your portfolio.
Sharing Your Timelapse
Now that you’ve crafted your timelapse, it’s time to share it with the world! Consider these platforms:
- YouTube: An excellent platform for reaching a broad audience and showcasing your work.
- Vimeo: Known for high-quality video hosting, ideal for professionals.
- Social Media: Share snippets or teasers of your timelapse on platforms like Instagram, Facebook, or TikTok to engage with your followers.
Tips for Advanced Timelapse Techniques
Once you're comfortable with the basics of making a timelapse with photos, you may want to explore advanced techniques:
- Hyperlapse: This technique involves moving the camera through space between shots, providing a dynamic viewing experience.
- Motion Control Timelapse: Use sliders or robotic devices to create smooth camera movement, enhancing the complexity of your timelapse.
- Post-Production Effects: Experiment with color grading and effects to add a unique flair to your footage.
Conclusion
Learning how to make a timelapse with photos opens up a world of creativity and storytelling opportunities. By understanding the concepts, workflows, and techniques discussed in this guide, you can capture time in a way that captivates and inspires. Embrace the challenges of photography and timelapse creation, and let your imagination drive your artistry.
Your journey in timelapse photography will not only enhance your skills but also expand your creative horizons. So start experimenting today, and watch how your photography transforms over time!
Explore More Photography Services
If you're passionate about photography, consider exploring services that can further enhance your skills. Check out Bonomotion, your go-to resource for photography services including real estate photography, professional photographers, and photography stores. Stay inspired and keep creating!