Complete Guide on How to Setup VPN on Home Router
The importance of online privacy and security cannot be overstated in today’s digital world. Virtual Private Networks (VPNs) have become essential tools for ensuring a secure internet connection, and one of the best ways to utilize a VPN is by setting it up on your home router. This allows all devices connected to your home network to benefit from the VPN, providing a more seamless and comprehensive security experience. In this guide, we will explore everything you need to know about how to setup VPN on home router.
Understanding VPNs and Their Importance
A VPN creates an encrypted tunnel between your device and the internet, which prevents third parties from monitoring your online activities. Here are some significant benefits of using a VPN:
- Enhanced Security: A VPN encrypts your internet traffic, protecting sensitive data from cybercriminals.
- Online Privacy: It masks your IP address, making it harder for websites and services to track your online actions.
- Access to Restricted Content: A VPN allows you to bypass geo-blocks and access content that may be restricted in your region.
- Safe Remote Access: If you work from home, a VPN enables secure access to your company's network.
Benefits of Setting Up a VPN on Your Home Router
Setting up a VPN directly on your home router offers numerous advantages:
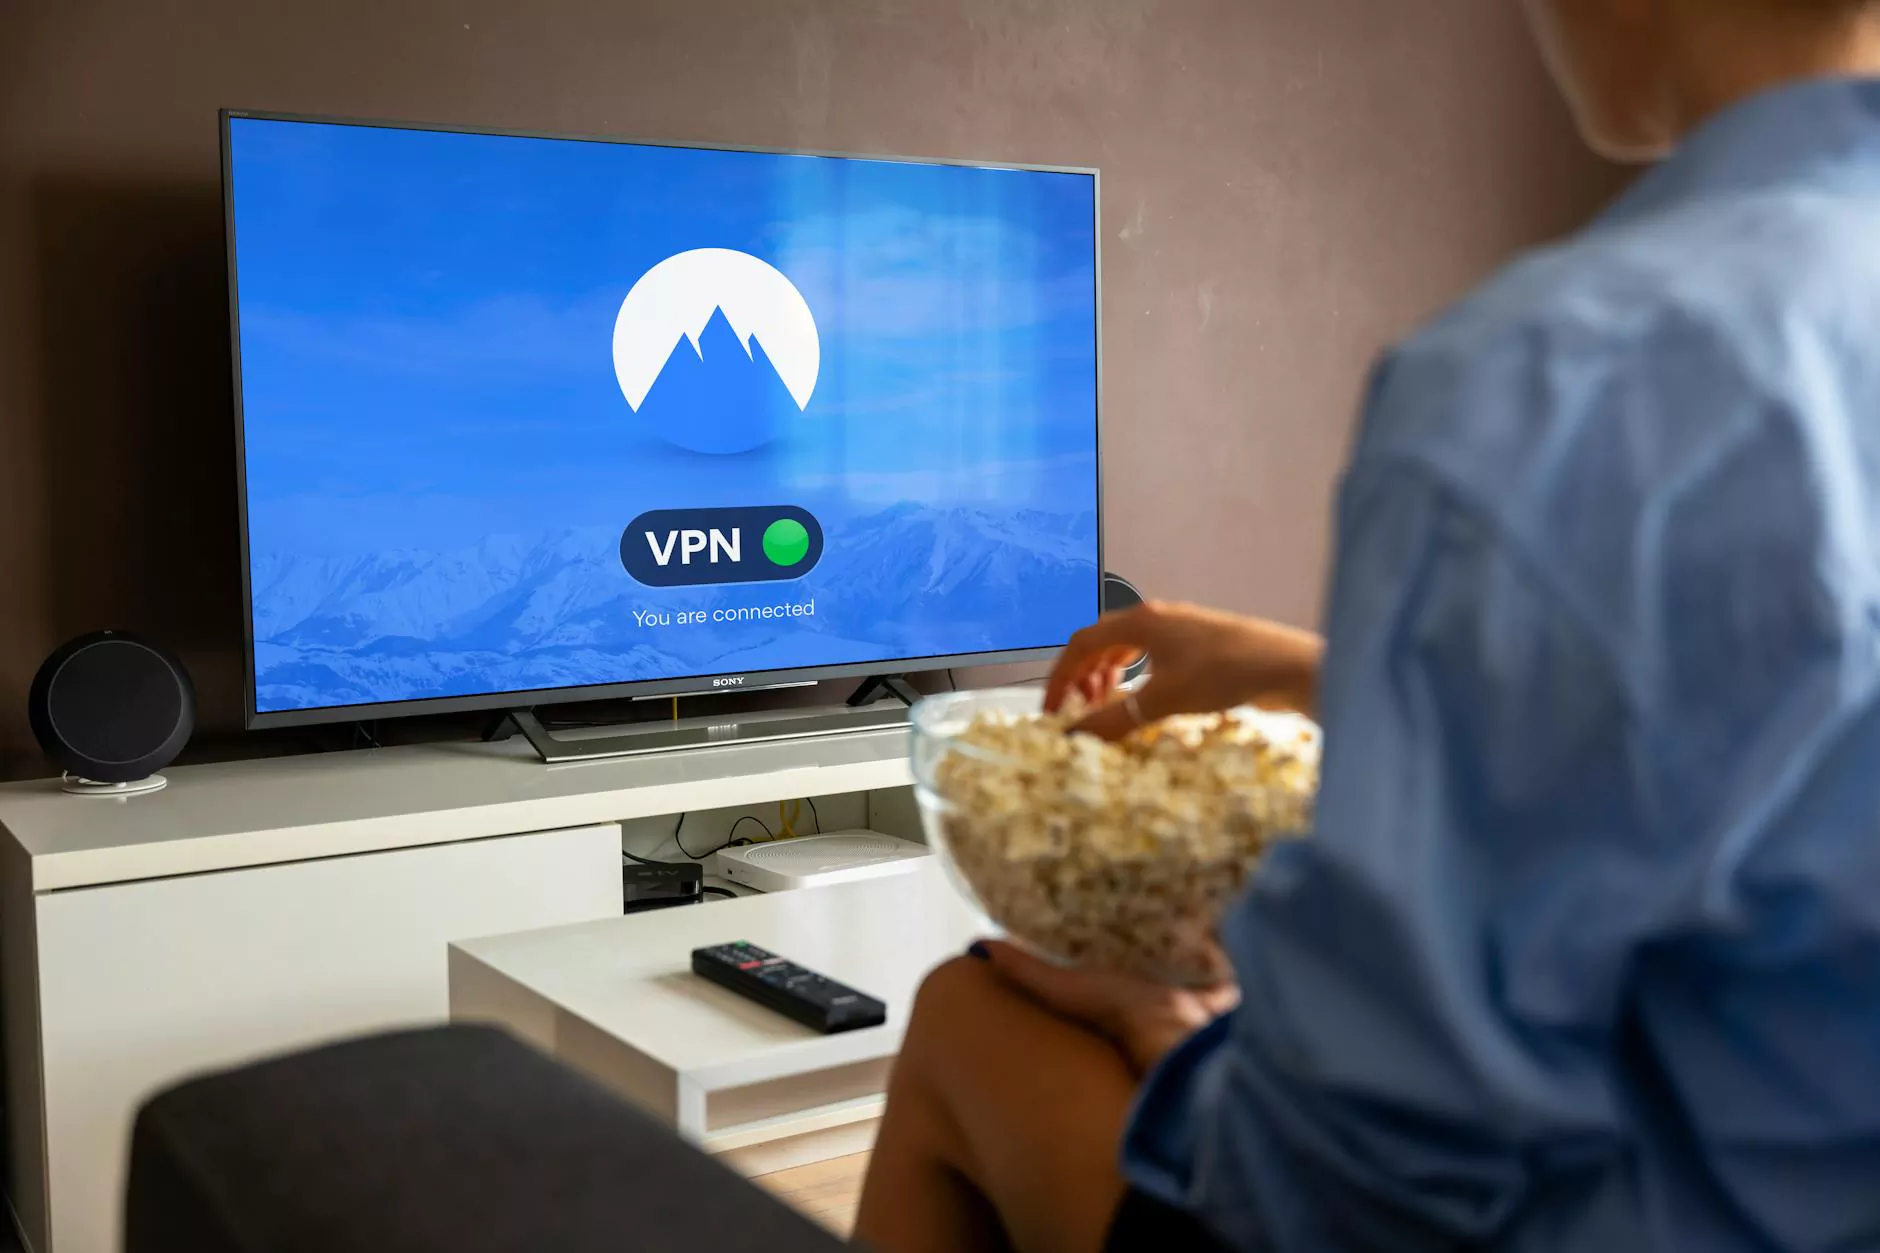
- Device Compatibility: With a VPN on your router, all devices connected to your network, including smart TVs, game consoles, and smartphones, can use the VPN without individual configuration.
- Ease of Use: Once configured, the VPN runs in the background, ensuring secure internet access without extra steps each time you connect a new device.
- Comprehensive Security: You will have a secure connection for all devices, even those that may not support VPN apps, like some IoT devices.
Choosing the Right Router for VPN Setup
Not all routers support VPN functionality. Here are the key features to look for when choosing a router for setting up a VPN:
- VPN Compatibility: Ensure your router supports VPN protocols like OpenVPN, L2TP, or PPTP.
- Processor Power: A router with a faster processor can handle encryption and data handling more efficiently.
- RAM: More RAM allows the router to handle multiple tasks smoothly, enhancing performance with a VPN running.
- Firmware Support: Consider routers that allow custom firmware like DD-WRT or Tomato, which can expand VPN functionality even further.
Popular VPN Protocols for Home Routers
Understanding various VPN protocols can help you choose the best option for your needs:
- OpenVPN: Highly sustainable and secure, OpenVPN is recommended for most users.
- L2TP/IPSec: While less commonly used due to moderate speeds, it offers multi-layer security.
- PPTP: Fast but less secure than others; suitable for streaming.
Step-by-Step Guide to Setup VPN on Home Router
Step 1: Select a Suitable VPN Service
Your first step in setting up a VPN on your home router is to choose a reliable VPN service. Factors to consider include:
- Security Features: Look for services that offer strong encryption and a no-logs policy.
- Speed and Performance: Opt for a VPN provider that is known for quick connections to ensure a smooth experience.
- Device Compatibility: Ensure that the VPN is compatible with your router model.
Step 2: Access Your Router's Configuration Panel
Next, access the router's configuration panel by entering the router's IP address into your web browser. Typically, this address is something like 192.168.1.1 or 192.168.0.1. You will need:
- Your router's admin login credentials.
- To ensure you have a stable internet connection.
Step 3: Find the VPN Section in Settings
Once logged in, navigate to the section that deals with VPN settings. This location varies depending on the router brand. Look for options like:
- VPN Client
- VPN Settings
- Advanced Settings
Step 4: Configure the VPN Connection
Using the details provided by your VPN provider, fill in the necessary fields, which usually include:
- Server Address: The IP address or hostname of the VPN server.
- VPN Type: Select the appropriate protocol (e.g., OpenVPN).
- Authentication: Input your username and password.
- Additional Settings: Enable settings such as encryption options if available.
Step 5: Save Settings and Connect
After entering all necessary information, save your settings. Most routers will have an option to connect to the VPN immediately after saving.
Step 6: Test Your VPN Connection
It’s crucial to verify that your VPN connection is active. You can do this by:
- Using an IP checking website to confirm that your IP address has changed.
- Testing access to geo-restricted content to ensure the VPN is functioning correctly.
Troubleshooting Common Issues
If you face any issues during or after setup, consider the following troubleshooting steps:
- Check Configuration Details: Ensure that all input data is correct.
- Router Firmware: Ensure your router firmware is up to date.
- VPN Connection: Validate the VPN server's status and verify that it is operational.
Conclusion
Setting up a VPN on your home router is a smart move towards securing your online activities, protecting your family's devices, and accessing content unrestricted by geographical boundaries. The process may seem daunting at first, but by following the steps outlined in this guide, you can achieve secure and seamless browsing in no time.
For more information on VPNs and the variety of services offered, visit zoogvpn.com. Embrace the best internet security practices and enjoy peace of mind while exploring the vast world of online content!